I’ll never forget the sheer panic of that first post-op meal. I thought I was being so careful with my “soft foods only” mandate, but a tiny piece of scrambled egg decided to take up residence in the crater at the back of my mouth. I spent ten minutes in front of the bathroom mirror, sweating, trying to decide if I should perform amateur surgery with a toothpick or just live with an egg-infused jaw for the rest of my life. It’s a weirdly vulnerable feeling, isn’t it? You’re finally starting to feel human again after the anesthesia wears off, and suddenly, you’re defeated by a noodle. The fear is real: you don’t want to cause an infection, but you also don’t want to sit there with a piece of debris rotting in your surgical site. I’ve been in that exact spot, and I made enough mistakes—including one involving a very sharp safety pin—to know exactly how you should and shouldn’t handle this situation.
Stop Reaching for the Toothpick Right Now
We need to talk about the “digging instinct.” It’s a primal urge. When we feel something stuck in a place it shouldn’t be, our first thought is to pry it out. In my early twenties, during my first major dental recovery, I actually tried to use a straightened paperclip to dislodge a piece of rice. Looking back, it was horrifying. Using sharp objects is the biggest mistake you can make because you risk dislodging the blood clot. That clot is the only thing standing between you and the misery of dry socket. According to the American Association of Oral and Maxillofacial Surgeons, dry socket occurs in about 2% to 5% of extractions, but that risk spikes significantly if you traumatize the site with physical probing. If you’re currently dealing with a rough recovery, you might also be wondering how to manage the swelling after a difficult wisdom tooth removal, which is much more important than obsessing over a tiny speck of food. Patience is your best friend here, even when your tongue won’t stop poking at the gap.
Is it really that dangerous to just leave the food there?
You might be tempted to just leave it and hope it dissolves. While your body is incredibly resilient, trapped debris can eventually irritate the tissue or lead to a minor infection if left for days on end. However, the goal is gentle removal, not an aggressive excavation. If you notice things like your dental stitches coming out too early, you definitely want to avoid any manual digging. Have you ever found yourself staring into a magnifying mirror with a flashlight, wondering if that white speck is food or just your jawbone? Drop a comment below if you’ve had a “food-in-hole” meltdown—I promise you aren’t the only one. Today, I’m going to show you the neighborly, safe way to clear those sockets so you can get back to your recovery without the stress of a potential emergency visit. We are going to look at the tools that actually work and the ones that are just asking for trouble.
Start With the Gentle Saltwater Flush
Before you even think about using a tool, you need to master the art of the saline rinse. This isn’t just about hygiene; it’s about chemistry. Warm salt water helps to draw out fluids and reduce the inflammation that makes your gums “grip” onto food particles. Mix about half a teaspoon of salt into eight ounces of warm water. But here is the critical part: do not swish like you’re trying to win a mouthwash commercial. If you’re too aggressive, you’ll blow that blood clot right out of its home. Instead, take a sip, tilt your head toward the side with the extraction, and let the water pool there. Then, lean over the sink and just let the water fall out of your mouth. It feels messy and a little undignified, but it’s the safest way to encourage a piece of debris to float away. Learning how to tell if your gums are healthy based on their color will help you realize when the site is just irritated versus when it’s actually holding onto something it shouldn’t.
Use an Irrigation Syringe for Deep Cleans
If the rinse doesn’t work, it’s time to bring in a specialized tool—but only if your surgeon gave you the green light, which is usually after the fifth day. A plastic irrigation syringe with a curved tip is the gold standard for reaching those deep craters. I remember my first time trying this; I was so nervous about the pressure that I used ice-cold water. Big mistake. The shock to my exposed nerves felt like a lightning bolt hitting my jaw. Always use lukewarm water. Place the tip near the socket—not deep inside it—and gently push the plunger.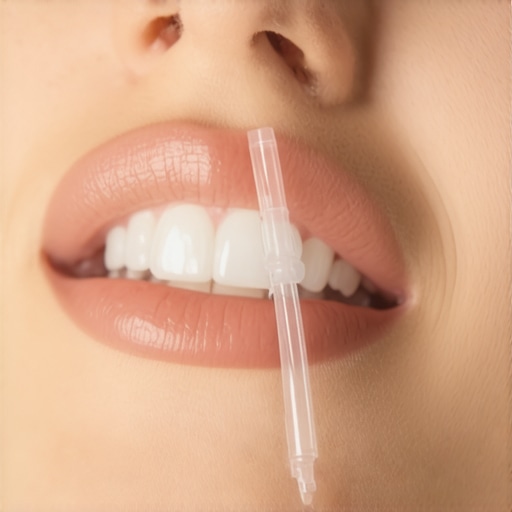 The goal is a steady, gentle stream that acts like a miniature power washer. This tool is vital for maintaining long-term health, much like knowing how to safely clean a dental implant without scratching the post in the future. I once spent twenty minutes trying to get what looked like a piece of chicken out, only to realize the “food” was actually a tiny bit of my own tissue healing over.
Distinguish Healing Tissue From Food
This is where most of us panic. After a few days, you might see something white or grayish in the hole. Your brain will scream that it’s a bread crumb. But wait. This is often “granulation tissue,” which is basically the scaffolding your body builds to repair the area. If you try to spray or pick this away, you are literally tearing off your new skin and inviting a dry socket. A good rule of thumb is to check how to tell if your dental stitches are ready to be removed; if the area looks uniform in color and isn’t throbbing, leave it alone.
Let Gravity Do the Heavy Lifting
If you don’t have a syringe, gravity is your best friend. Fill your mouth with warm water, lean your head completely to the side, and then rapidly but gently tilt it back the other way. This shifting of weight can often dislodge light particles like rice or seeds without any physical contact. It’s a technique we often discuss when providing family dentistry tips for a lifetime of healthy smiles because it’s non-invasive and zero-risk. If it doesn’t come out after three tries, give it a rest. Your saliva has enzymes that will eventually break down most organic matter anyway, and forcing the issue will only delay your healing.Once the extraction site finally heals and you’ve mastered the art of the saltwater rinse, it’s easy to breathe a sigh of relief. But here is the real talk: the most common mistake I see people make is assuming that permanent restorations like veneers or implants are bulletproof. I used to believe that since porcelain can’t decay, I could slack off on my hygiene routine. This is a massive oops factor that can cost you thousands of dollars and hours of corrective surgery. While it’s true that a titanium post won’t get a cavity, the surrounding bone and tissue are actually more sensitive to neglect than your natural teeth. According to a study published in the Journal of Clinical Periodontology, nearly 43% of patients with dental implants develop peri-implant mucositis—a form of gum disease that, if ignored, leads to implant failure. You might even find yourself wondering why your dental implant feels different when it rains, which often stems from barometric pressure changes affecting the jawbone, proving just how integrated and alive these restorations really are.
Can you really ruin a porcelain veneer with the wrong toothpaste?
The short answer is a resounding yes. One of the biggest nuances in family dentistry tips for a lifetime of healthy smiles is the warning against abrasive whitening toothpastes. Many people get veneers as a transformation to unlock their best smile, only to scrub away the polish with charcoal or baking soda. This creates microscopic scratches that catch stains, leading to the mistake that makes porcelain veneers look like piano keys—flat, opaque, and artificially white rather than translucent and natural.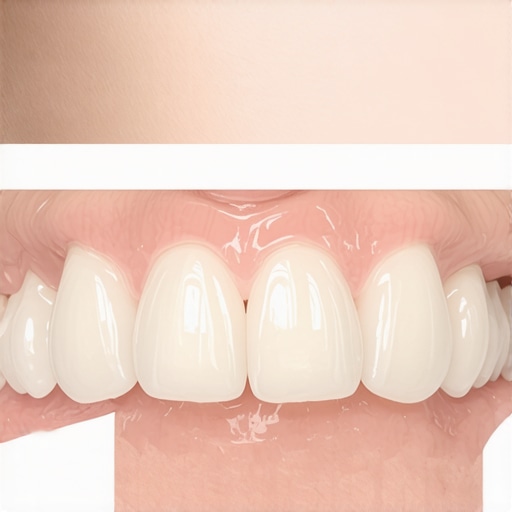 Furthermore, don’t be surprised if your new veneers feel bulky against your lips for the first few weeks. This is a common hurdle where the brain struggles to recalibrate the new normal of your tooth thickness. Even with dental implants in 2025 focusing on durability, the biological integration remains a delicate dance. If you treat these like invincible plastic, you’re setting yourself up for failure. Have you ever fallen into this trap of thinking your dental work was indestructible? Let me know in the comments. We need to shift the mindset from repairing a problem to investing in a living system.I learned the hard way that a standard drugstore toothbrush isn’t always the best ally for a ten-thousand-dollar smile. When I first got my work done, I figured my routine was fine, but a few months in, I noticed dulling on my lower restorations. It turns out that maintaining veneers and implants requires a precision toolkit, not just a ‘more is better’ attitude toward scrubbing. If you want these results to last twenty years instead of five, you have to transition from a cleaning mindset to a preservation mindset.
Ditch the Metal and Save Your Implants
The most critical rule I live by now is keeping metal away from my implant posts. If you are using standard interdental brushes with exposed wire cores, you are playing a dangerous game. The Association of Dental Implantology (ADI) specifically warns against the use of stainless steel instruments during routine cleaning for implant patients, as even microscopic gouges on the titanium can harbor biofilm that leads to bone loss. This is why I only use plastic-coated interdental brushes. I’ve found that knowing how to safely clean a dental implant without scratching the post is the difference between a successful restoration and a costly failure. These specialized brushes are flexible enough to get into those tight gaps between the crown and the gumline without causing structural damage.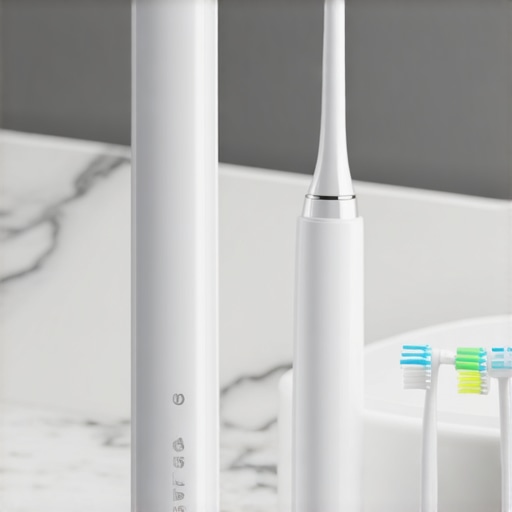
The Water Flosser Setting You Are Probably Getting Wrong
I used to think that the highest setting on my water flosser was the only way to get a deep clean. I’d blast my gums until they were red, thinking I was being thorough. However, if you notice why your gums bleed only when you use a water flosser, it’s often a sign of tissue trauma rather than gingivitis. For veneers and implants, you want a medium-low pressure. This creates a gentle hydro-pulse that clears the sulcus without detaching the delicate gingival seal around your implant. I personally recommend adding a capful of non-alcohol antimicrobial rinse to the reservoir twice a week. It’s an extra layer of protection that keeps the bacterial load low in those hard-to-reach areas.
How do I keep my new smile looking fresh for decades?
The secret isn’t just in the brushing; it’s in the protection against mechanical wear. If you find why your veneers feel tight when you wake up in the morning, you are likely grinding your teeth at night. Bruxism is the number one killer of porcelain work. A custom-fitted nightguard is non-negotiable. I use one every single night, and it has saved my veneers from the micro-fractures that typically plague long-term users. When you combine physical protection with the right family dentistry tips for a lifetime of healthy smiles, you’re not just maintaining teeth; you’re maintaining your confidence.
Looking Ahead to the Era of Bio-Integrated Tech
As we look at the future of dental implants and cutting-edge techniques, I predict we are moving toward a ‘smart’ oral health era. We are already seeing how dental implants reshape oral health in 2025 with improved surface textures that speed up healing. Soon, I suspect we will have smart-brushes that use AI to map the exact pressure needed for each individual veneer, preventing the recession caused by over-brushing. My advanced tip for you today: switch to a specialized non-abrasive gel toothpaste designed for cosmetic work. It lacks the silica found in regular brands and will keep your porcelain shining like the day it was bonded. Try this for just one month and you will see the difference in the luster of your smile.
What Experts Won’t Tell You About Your Smile’s Lifespan
After years of navigating the world of restorative dentistry, I’ve realized that the real secret to a perfect smile isn’t just the surgery—it’s the stewardship. One of the biggest lightbulb moments for me was realizing that why your gums look receding even though you dont have gum disease often comes down to mechanical force rather than bacteria. We tend to over-compensate with heavy scrubbing, which is the fastest way to wear down the bond on your veneers and irritate the delicate tissue around an implant.
Another hard-won lesson? Your mouth is a living ecosystem. If you ignore your hydration, your saliva becomes thick and acidic, which can irritate the edges of your new work. I also learned that why your smile looks asymmetrical after dental work is sometimes just a matter of muscle adaptation; giving your jaw time to relax and recalibrate is just as important as the clinical procedure itself. Don’t rush the process; your body needs to accept these new additions as part of the family.
Build Your Personal Survival Kit for Dental Longevity
I don’t just use whatever is on sale at the drugstore anymore. To protect my investment, I’ve curated a specific toolkit that keeps everything in peak condition. First, I always have a supply of plastic-coated interdental brushes to ensure I never scratch a titanium post while cleaning. Second, I’ve moved toward pH-neutral mouthwashes to avoid the “sticky mouth” feeling that comes from alcohol-based products. Finally, I highly recommend checking out these cosmetic dentistry secrets to boost your confidence, as they provide a roadmap for the mental shift required to maintain a high-end smile effectively.
#IMAGE_PLACEHOLDER_E#
Your Road to a Confident and Resilient Smile
At the end of the day, your dental journey is about more than just avoiding “food in a hole” or preventing a loose crown. It’s about the freedom to laugh, eat, and speak without hesitation. Whether you are looking at the future of dental implants and cutting-edge techniques or just trying to survive the first week after a wisdom tooth extraction, remember that you are doing this for your future self. Modern cosmetic dentistry has come so far that you truly can have a smile that lasts a lifetime if you treat it with the respect it deserves. Have you ever felt like you were “babying” your new dental work too much, or have you been a little too brave with crunchy snacks? Let me know in the comments below!