I was sitting in a high-end steakhouse when it happened. A single, stubborn fiber of ribeye got lodged directly behind my lower front teeth, right under the metal wire. It wasn’t just annoying; it felt like a tiny spear poking my tongue every time I spoke. In a moment of sheer desperation and vanity, I grabbed a wooden toothpick and started digging. Snap. The toothpick broke, leaving a jagged sliver of wood wedged between the wire and my gum. I spent the next twenty minutes in the bathroom, sweating and staring into a foggy mirror, convinced I was about to rip out the very hardware that was stopping my teeth from shifting after my braces. It was a total disaster, and frankly, I felt like a failure at basic adulthood.
Keep the Gunk Out Without the Drama
We are going to fix that anxiety today. If you have ever felt like your mouth is a construction site you can’t quite manage, you are in the right place. I’ve made every mistake in the book—from using industrial-strength thread to almost popping a bond because I was pulling too hard—so you don’t have to. The reality is that while these little lingual bars are incredible for maintaining a lifelong healthy smile, they are absolute magnets for plaque and leftovers. Today, I’m going to show you exactly how to navigate that narrow space with the grace of a dental pro and the patience of a saint. We’ll cover the tools that actually work and the aggressive habits you need to drop immediately before you end up back in the ortho chair for a costly repair.
Is this metal wire actually worth the hype?
I know what you’re thinking because I thought it too: wouldn’t it just be easier to use a removable tray? You’re skeptical about the maintenance, and honestly, that’s fair. It feels like a lot of work for a few millimeters of metal. However, the American Association of Orthodontists points out that fixed retainers are often more effective at preventing long-term relapse because, well, you can’t forget to wear them. But that effectiveness comes with a catch: they are notorious for tartar buildup. In fact, a study published by the AAO suggests that lingual retainers can lead to significantly higher calculus accumulation if you aren’t using specific tools. I learned this the hard way during a routine cleaning where my hygienist spent forty minutes just chipping away at the ‘Great Wall of Tartar’ I had built up behind my wire. It was embarrassing, painful, and totally avoidable. One of the best shifts I ever made was using a water flosser to blast out the debris before it had a chance to harden into a problem. Have you ever had one of those heart-stopping moments where you felt the wire wiggle or got something so stuck you considered using pliers? Seriously, tell me your horror stories in the comments—I need to know I’m not the only one who has panicked over a piece of crusty bread. Let’s dive into the step-by-step process of keeping that wire pristine without a single ‘snap’ or ‘crack.’
Start with the High-Pressure Wash
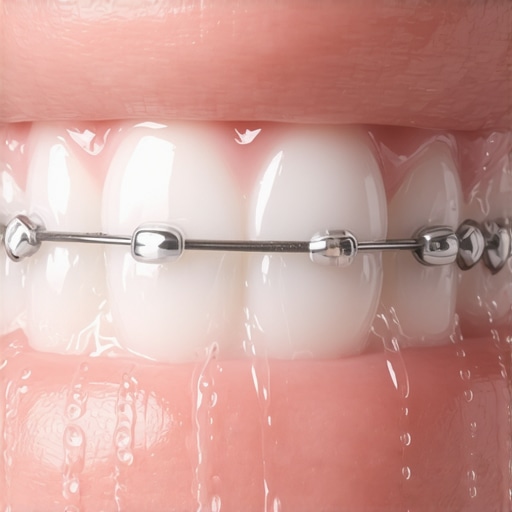
Before you ever touch a piece of floss, you need to clear the deck. Think of your lingual bar like a bridge over a river; debris gets caught underneath the structure where a standard toothbrush simply cannot reach. I used to skip the pre-rinse until I realized that brushing alone was just pushing food deeper into the crevices. Now, my first move is always a high-powered rinse. This is where the benefit of using a water flosser with your braces or permanent retainers becomes incredibly obvious. It uses a targeted stream to dislodge the ‘easy’ stuff before it hardens. I remember a particularly embarrassing dinner where a piece of spinach was waving like a flag from my wire; a quick blast with the water flosser saved my dignity and my gums in seconds.
Why Water Flossers Are Non-Negotiable
If you aren’t using a water flosser, you are essentially trying to clean a comb with a sponge. The water pressure gets into the micro-gaps between the wire and the enamel where bacteria love to throw a party. If you’ve ever wondered why your teeth feel fuzzy only hours after cleaning them, it’s usually because of the biofilm hiding behind that metal bar. Aim the tip at a 45-degree angle toward the gum line and trace the wire from left to right. It’s satisfying, gross, and absolutely necessary.
Master the Needle and Thread Move
Once the loose debris is gone, it’s time for the precision work. You can’t just floss ‘over’ a permanent retainer; you have to go under it. This requires a floss threader—a little plastic loop that acts like a needle for your dental floss. I’ll be honest: the first time I tried this, I ended up poking myself in the floor of the mouth so hard I saw stars. It takes practice. You thread the floss through the loop, pass the stiff end of the threader between your teeth (under the wire), and pull it through. Once the floss is under the bar, you can finally perform that ‘C-shape’ wrap around each tooth to scrape away the sticky plaque.
Stop Sawing and Start Guiding
The biggest mistake I see—and one I definitely made early on—is the ‘sawing’ motion. People get frustrated and start pulling the floss back and forth like they’re trying to cut a log. This is a fast track to irritation. Instead, use a gentle up-and-down motion. If you notice localized redness, it might be why your gums bleed even though you brush twice a day. You have to be surgical, not aggressive. This level of care is part of the cosmetic dentistry secrets to boost your confidence, because a clean wire means no bad breath and no yellow tartar buildup visible when you laugh.
The Tiny Brush You Did Not Know You Needed
Finally, keep a pack of interdental brushes in your arsenal. These look like tiny pipe cleaners and are perfect for the gaps where the wire is bonded to the tooth. I keep one in my car for emergencies. One time, after a particularly crusty sourdough roll, I felt a ‘shelf’ of bread stuck right at the bond point. The floss couldn’t grab it, but the interdental brush slid right in and popped it out. Using these daily ensures you’re hitting the spots that even a threader might miss, especially if you have sensitive areas and need the best way to brush when you have sensitive gums. It’s the final detail in your dental ‘detailing’ process.
Most people assume that once those porcelain shells or implants are bonded, the job is over. But here is the nuance that separates a ‘nice’ smile from a celebrity-level masterpiece: optical metamerism. Have you ever noticed how some teeth look stunning in the dental office but weirdly opaque or blueish when you step outside? This is the reason your veneers look different in sunlight versus indoors. It’s an optical phenomenon where the material reflects light differently than your natural enamel. If your dentist isn’t checking your shade in multiple lighting environments, you’re falling into a major trap that results in a ‘flat’ smile. Have you ever fallen into this trap of wanting the whitest smile possible, only to realize it looks a bit too artificial in person? Let me know in the comments.
Stop Chasing the Brightest Shade on the Chart
The most common mistake I see isn’t choosing a bad dentist; it’s the patient demanding ‘BL1’—the whitest shade available. Everyone says ‘go as white as possible,’ but in my experience, a slightly softer, more translucent shade works better for 90% of faces. When you go too white, you lose the depth that makes a smile look alive. This is often the reason your porcelain veneers look opaque and fake. Real teeth have character, subtle gradients, and a hint of warmth. According to a study published in the Journal of Esthetic and Restorative Dentistry, the most frequent cause of patient dissatisfaction isn’t the shape of the teeth, but a lack of ‘optical integration’ with the rest of the mouth.
Should you really choose porcelain over composite for every situation?
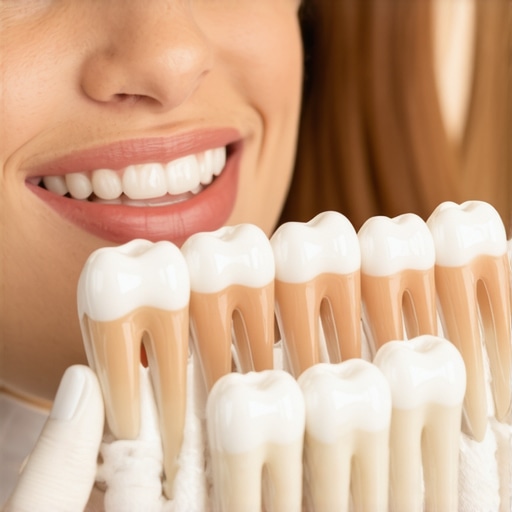
We’ve been conditioned to think porcelain is the only premium option, but there’s a hidden nuance here. If you are a ‘bruxer’ (a tooth grinder), porcelain can actually be a liability because it’s so brittle under sheer force. In some cases, high-quality composite bonding allows for easier repairs if you chip a corner during a stressful week. You need to weigh the truth about the durability of composite vs porcelain veneers against your lifestyle habits. If you’re not a candidate for a full porcelain set, don’t feel like you’re settling for a ‘budget’ version; you’re choosing the material that won’t shatter when you’re asleep.
The Proportionality Trap Most People Ignore
Another ‘oops’ factor is ignoring the gum-to-tooth ratio. I’ve seen patients spend thousands on the perfect shade only to be unhappy because their teeth look ‘too long’ or ‘too blocky.’ This usually happens when the gingival architecture isn’t addressed first. Sometimes, you don’t need a full set of veneers; you might just need to understand veneers vs crowns: choosing the best option for your smile. A crown might be necessary if the tooth structure is compromised, whereas a veneer is purely a facade. When you rush into the aesthetic fix without stabilizing the foundation, you end up with a smile that feels bulky. Mastering how to pick the right shade for your new porcelain veneers involves more than just looking at a plastic tab; it involves looking at your skin tone, the whites of your eyes, and how much lip you show when you laugh.
Even if you have the most expensive porcelain in the world, the mechanical reality of your mouth never stops. I’ve learned that a ‘set it and forget it’ attitude is the fastest way to turn a 20-year investment into a 5-year disappointment. Once those margins are sealed, the real work begins—and it is not just about brushing. It is about understanding that your gums are the frame for your artwork. If the frame rots, the painting falls. This is especially true for those navigating family dentistry tips for a lifetime of healthy smiles, where we juggle our own complex work alongside the kids’ routine cleanings. I personally shifted to a sonic toothbrush with a built-in pressure sensor because I realized I was scrubbing my veneers like I was trying to get rust off a car bumper. That aggressive friction is often why your porcelain veneers feel gritty to your tongue; you are literally wearing down the polish.
The Exact Gear That Keeps My Gums From Giving Up
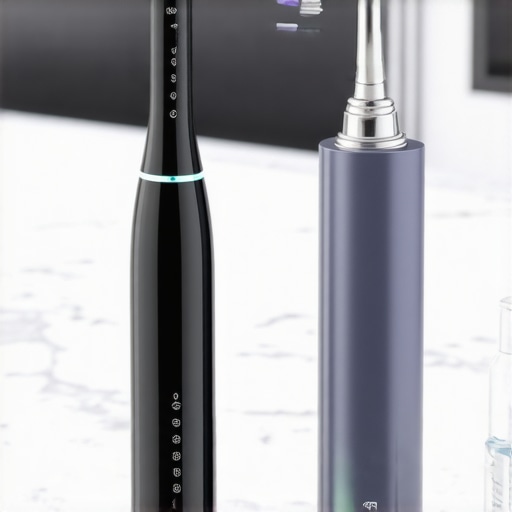
I don’t just use any tool; I’ve become obsessive about the specific frequency of my toothbrush. High-end sonic brushes vibrating at 31,000 strokes per minute create micro-bubbles that reach into the sulcus—the tiny pocket where the veneer meets the gum. I also swear by an air-flosser for my implant sites. Because an implant doesn’t have the same nerve endings as a natural tooth, you won’t always feel the ‘ouch’ of a piece of trapped food. You have to be proactive. If you’ve invested in a veneers transformation unlocking your best smile yet, you need to treat it like a luxury vehicle. You wouldn’t take a Ferrari through a cheap gas station car wash, so don’t use abrasive charcoal toothpastes that can micro-scratch your glaze.
How do I keep my dental work looking fresh for a decade?
The secret is a combination of chemical and mechanical maintenance. I personally use a non-alcoholic, pH-neutral fluoride rinse every single night. Alcohol-based mouthwashes can actually soften the bonding agents used in some cosmetic procedures over time. It’s also vital to acknowledge lifestyle risks; for example, understanding the impact of smoking on your dental implant success rate is crucial if you want that titanium to actually fuse with your bone. I’ve also had to learn how to maintain your white smile after a coffee habit by using a straw for my morning cold brew. It feels ridiculous at first, but preventing that pigment from hitting the porcelain margins keeps the ‘invisible’ seams truly invisible.
Bio-Integration Is the Next Frontier
Looking ahead, I predict we are moving away from purely ‘mechanical’ fixes toward biological ones. We are already seeing dental implants 2025 innovations that redefine comfort and durability through the use of 3D-printed scaffolds that encourage your own bone cells to grow faster and stronger. According to Dr. Stephen Chu, a leading authority in esthetic restorative dentistry, the focus is shifting toward ‘biomimetic’ materials—substances that don’t just look like teeth but actually behave like them under stress. We are entering an era where your dental work will essentially ‘talk’ to your body. My advice? Start using a pH-balancing mouth spray after meals to stop acid erosion in its tracks. Try switching to a soft-bristled sonic head tonight—it is the single easiest way to protect your margins from receding.
Hard Lessons from My Own Smile Makeover
After years of navigating the world of lingual bars and porcelain, I’ve realized that the small things are actually the big things. First, never ignore a slight ‘ping’ or ‘scratch’ against your tongue; that’s usually your hardware telling you a bond is failing before it becomes a full-blown emergency. Second, the ‘clean’ feeling after a professional visit is something you can actually replicate at home if you are diligent. Third, I learned that transforming your smile with veneers requires a mental shift from ‘fixing a problem’ to ‘protecting an asset.’ It’s a subtle difference, but it changes how you approach your nightly routine.
#IMAGE_PLACEHOLDER_E#
The Gear I Actually Use Every Night
I don’t believe in hoarding every dental gadget on the market, but there are three things I will never travel without. A high-quality water flosser is my number one recommendation because it does the heavy lifting that string just can’t handle. I also swear by a pressure-sensitive electric toothbrush; it’s the only way to ensure you aren’t accidentally scrubbing away your gum line. Finally, keeping a supply of pH-neutral mouthwash helps maintain the integrity of the bonding agents. If you are looking at the future of dental implants and modern restorations, you’ll see that the focus is moving toward these gentle, chemistry-based cleaning methods rather than just brute force brushing.
Your Future Smile Starts with This Routine
Investing in your teeth is one of the best decisions you can make for your confidence and overall health. Whether you are managing a permanent retainer from your teen years or you’ve recently undergone a full cosmetic dentistry transformation, the key is consistency. You don’t need to be perfect every single day, but you do need to be mindful. Understanding how dental implants reshape your oral health can give you the motivation to keep that titanium and porcelain pristine for decades to come. If you ever feel overwhelmed or notice something isn’t quite right, don’t hesitate to reach out to a professional through a contact us page to get expert eyes on the situation before it escalates.
Have you ever struggled with getting that one stubborn piece of food out from behind your permanent retainer? Let me know your best tips in the comments below!