I woke up on the third morning after my surgery, caught a glimpse of myself in the bathroom mirror, and honestly? I gasped. One side of my face was so puffed up it looked like I’d spent the night fighting a beehive and lost. It wasn’t just a little “fullness”—it was a shiny, tight, golf-ball-sized protrusion that made talking or even sipping water a monumental task. I’d spent years in the dental world hearing about recovery, but experiencing a “difficult” extraction firsthand is a whole different beast. If you’re currently staring at your own lopsided reflection and wondering if you’ll ever see your jawline again, trust me, I’ve been right where you are. Dealing with the aftermath of a complicated extraction is as much a mental game as it is a physical one.
My face looked like a lopsided balloon
When my surgeon told me my extraction would be “complicated” because of the deep roots, I nodded along like I knew better. My biggest blunder? I stopped using my cold compress after the first four hours because I thought the numbness meant I was in the clear. According to the American Association of Oral and Maxillofacial Surgeons, postoperative swelling is a natural inflammatory response that typically peaks between 48 and 72 hours. Because I skipped the proactive icing, I basically invited the inflammation to set up a permanent camp in my cheek. Today, I’m going to share exactly how I managed that intense swelling and what actually works when you’re past the point of “just put some ice on it.” This matters right now because those first few days are your “golden window” to prevent long-term jaw stiffness. If you don’t get the inflammation under control early, you’re playing catch-up with your own biology.
Is this much swelling actually worth the worry?
It is completely normal to feel a bit of panic when the swelling doesn’t go down by day two. You start wondering if you have an infection or if something went wrong during the procedure. Have you ever looked in the mirror after a dental visit and wondered if your face was permanently changed? It’s a scary thought. We often focus on the surgery itself, much like people researching innovative dental implants or the long-term results of veneers, but the recovery phase is where the real work happens. If you knew how your wisdom teeth were coming in beforehand, you might have been prepared for the trauma to the bone and tissue. We’re going to dive into the heat-vs-cold debate, the elevation trick that saved my sleep, and the family dentistry secrets to keep your mouth clean without making the swelling worse. Let’s get that swelling down so you can get back to your life.
Switch to warm compresses after the 48-hour mark
Once you hit that 48-hour peak, ice stops being your best friend. Think of ice as the ’emergency brake’ that stops the initial inflammation, while heat is the ‘green light’ that gets blood flowing to clear out the debris. I made the mistake of sticking with ice for four days, and all I did was make my jaw muscles feel like frozen concrete. Use a warm—not hot—compress for 20 minutes on and 20 minutes off. This promotes circulation and helps your body reabsorb that fluid buildup. If you’ve ever had to learn how to tell if your dental bone graft is healing as expected, you know that blood flow is the lifeblood of recovery. Without it, the healing process just stalls out. Think of your swelling like a traffic jam. In the beginning, you want to close the roads to stop more cars from arriving. But after two days, you need to clear the wreck and open the lanes so the tow trucks of your immune system can get through. I noticed that when I finally used a warm washcloth, the tight, shiny skin on my cheek finally started to wrinkle slightly—a sign that the fluid was finally moving out. 
Stack your pillows higher than you think
Gravity is either your best friend or your worst enemy during recovery. When you lie flat, blood and lymphatic fluid rush to your head, which is why that ‘throbbing’ feeling usually gets worse at night. I remember trying to sleep flat on my back that first night because I was exhausted. Big mistake. I woke up with a cheek so heavy it felt like it was pulling my eye down. By night two, I built a ‘pillow throne’—four pillows stacked like a ramp. It felt ridiculous, and my neck was a bit stiff the next morning, but the reduction in that heavy, tight pressure was immediate. It’s the difference between a swamp draining naturally and water pooling in a low spot. Try to keep your head elevated at least 30 to 45 degrees. It prevents the fluid from ‘settling’ in the surgical site, which is the primary cause of that morning-after puffiness.
Master the art of the gentle saltwater swirl
You need to keep the area clean, but you can’t exactly go in there with a power-scrubber. Much like the delicate care required when you manage tooth sensitivity after your first professional cleaning, your extraction site needs a soft touch. Mix half a teaspoon of salt in eight ounces of warm water. Instead of ‘swishing’ aggressively—which can dislodge the crucial blood clot—just tilt your head from side to side. Let the water roll over the area and then literally lean over the sink and let it fall out of your mouth. Don’t spit! Spitting creates suction that can lead to a dry socket, a pain far worse than any swelling.
Watch out for the metallic warning signs
It is normal to have a slight tang of blood in your mouth for the first 24 hours, but if you start noticing a persistent ‘off’ taste later on, pay attention. Sometimes people worry why your dental implant crown feels like it is wiggling or if a suture is loose, but usually, it’s just trapped food or bacteria. Keeping the rest of your teeth clean with standard family dentistry practices—brushing slowly and using a manual brush—prevents secondary infections that cause even more swelling. If you previously had issues where you had to tell if your wisdom teeth were coming in sideways, you know that the back of the mouth is a magnet for debris. Be diligent but incredibly soft.
Stop waiting for your jaw to heal itself
Common wisdom suggests that after an extraction, you should just ‘let nature take its course’ for several months before considering a replacement. In my experience, this is the most common mistake patients make. The moment a tooth is removed, the alveolar bone that once supported it begins a process called resorption. A study published in the Journal of Oral Implantology indicates that significant bone volume loss occurs within the first six months post-extraction. If you wait too long, you might find that dental implants 2025 innovations that promise comfort and durability are harder to achieve without expensive bone grafting. Don’t fall into the trap of thinking ‘out of sight, out of mind’ is a safe strategy for your long-term jaw health.
Does a single missing tooth really change my entire face?
When you leave a gap, your remaining teeth don’t stay static; they begin to tilt and drift into the empty space. This shifting can lead to bite misalignment and even change the way your porcelain veneers might fit in the future if you choose a full-smile makeover. People often worry that a dental implant feels heavy in your jaw bone, but the real burden is the structural collapse of your bite that occurs when you ignore the empty space. 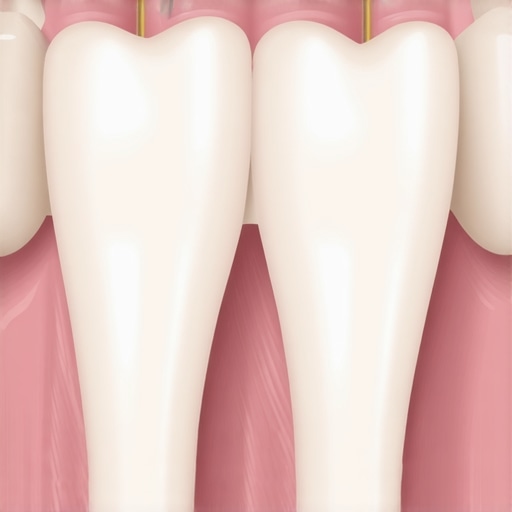
The DIY whitening trap during recovery
Here is a specific ‘oops’ factor I see constantly: patients become so hyper-aware of their teeth during recovery that they try to ‘freshen up’ their smile with home remedies. There is a massive danger of using baking soda to whiten your teeth at home, especially when your gums are still in a state of high inflammatory repair. These abrasives can irritate the healing site and cause microscopic scratches on existing dental work. If you are looking toward cutting-edge techniques in cosmetic dentistry, you need a healthy, calm foundation first. Stick to the family dentistry basics and let the surgical site seal completely before introducing any whitening agents. Have you ever fallen into the trap of trying a ‘natural’ dental hack that made your recovery more painful? Let me know in the comments.I’ve realized that the ‘set it and forget it’ mentality is the fastest way to a revision surgery you definitely don’t want. If you’ve invested in your look and had to choose between veneers vs crowns, you already know that the stakes are high for your wallet and your confidence. I personally swear by a high-end water flosser paired specifically with a ‘Plaque Seeker’ tip. Most people use the standard jet tip, which is fine for natural teeth, but for implants and bridges, the tapered bristles on a specialized tip are non-negotiable. They reach into the sulcus—that tiny, invisible pocket around an implant where bacteria love to throw a party. According to the Journal of Clinical Periodontology, mechanical disruption of biofilm in these hard-to-reach areas is the single most important factor in preventing peri-implantitis. If you aren’t sure if you’re on track, checking how to tell if your dental implant is healing at the right speed can give you the peace of mind you need during those first few months.
Stop using metal tools on your titanium posts
One of the biggest ‘authoritative’ mistakes I see is people using metal interdental cleaners at home. Never do this. Metal on metal causes microscopic scratches on the abutment, creating a jagged playground for plaque to stick to. You need to learn how to safely clean a dental implant without scratching the post by using nylon-coated brushes or specialized floss. It’s about being precise, not aggressive. 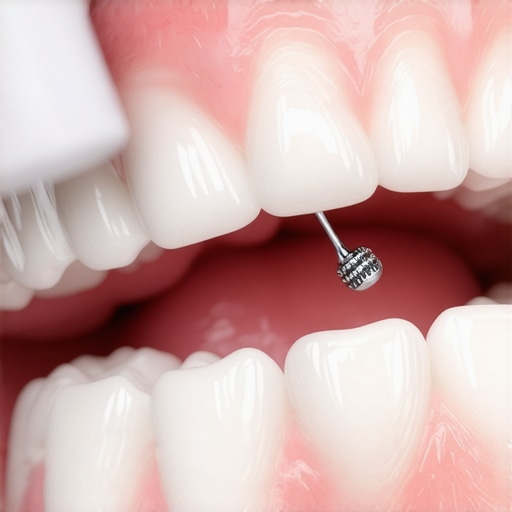
How do I keep my dental work looking brand new for years?
Consistency is boring, but it’s the only way to maintain cosmetic dentistry secrets that actually last a lifetime. I recommend a non-abrasive gel toothpaste rather than a paste; it keeps the polish on your porcelain bright without wearing down the glaze. If you’ve gone the extra mile to transform your smile with veneers, you must protect that investment from the pressure of nighttime grinding. A custom-fitted night guard is the difference between a ten-year smile and a thirty-year smile.
Your phone might soon monitor your gum health
Looking ahead, I predict that by late 2025, dental implants 2025 innovations will include ‘smart abutments’ capable of syncing with your smartphone to alert you to pH changes in your saliva. We are moving toward a world where how dental implants reshape your oral health isn’t just about the physical tooth, but about real-time biological feedback. For now, my best advanced tip for you is this: swap your standard string floss for a rubber-tipped interdental stimulator for just ten days. You will be shocked at how much more resilient and ‘pink’ your gums feel compared to traditional flossing. Give it a shot and see if your dental hygienist notices the difference at your next family dentistry checkup.
Lessons from the Recovery Chair That You Won’t Find on a Pamphlet
Looking back at that morning with the lopsided face, I realized that the hardest part wasn’t the physical ache; it was the loss of control. Here is the wisdom I wish I had on day one: First, don’t rush the transition to solid foods. I tried a piece of toast too early and the jaw strain felt like a massive setback. Second, your mental health during recovery is tied to your reflection. It’s okay to feel frustrated when you don’t look like yourself. Finally, use this ‘downtime’ to research your next steps. Whether you are looking for cosmetic dentistry secrets to boost your confidence or planning a permanent replacement, having a goal makes the soup-only diet much more bearable. If you notice your jaw feels locked after a long dental visit, be gentle with yourself—healing is a marathon, not a sprint.
#IMAGE_PLACE_HOLDER_E#
The Recovery Kit I Swear By for a Faster Bounce Back
I’ve curated a few essentials that moved the needle for me during those first two weeks. I highly recommend a flaxseed-filled microwaveable wrap instead of a wet washcloth; it holds heat longer and conforms to the curves of your jaw perfectly. For oral hygiene, I found that an ultra-soft post-surgical toothbrush is a lifesaver when you’re too nervous to use your regular one. Also, keep a bottle of alcohol-free chlorhexidine rinse handy if your dentist recommends it—it keeps the site sterile without the burn. If you’re already worrying about how to manage the metallic taste after a new dental crown or a surgical site, these tools will be your best allies. I also found comfort in tracking my progress with daily photos; it’s hard to see the swelling go down day-by-day, but the time-lapse doesn’t lie.
Your Journey to a Renewed Smile Starts with This One Step
The swelling will fade, the soreness will vanish, and soon, this entire experience will just be a story you tell. Don’t let a difficult extraction discourage you from achieving the veneers transformation or the perfect bite you’ve always wanted. The future of your oral health is bright, and every day of careful recovery is an investment in that long-term result. If you ever feel unsure, reach out to a professional through a contact us page to get the reassurance you deserve. You’ve got this, and your best smile is just around the corner. What has been the most surprising part of your recovery journey so far? Have you found a ‘secret’ remedy that worked for you? Let me know in the comments below!