I’ll never forget the morning I woke up, leaned into my bathroom mirror, and saw a bright red, puffy ring circling my brand-new crown. It looked like a tiny, angry life-preserver had been tossed around my tooth. I’d just spent weeks weighing the pros and cons of veneers vs crowns, finally feeling confident in my choice, only to be met with throbbing discomfort. I did what most people do: I panicked and started scrubbing the area with a stiff toothbrush, thinking some rogue piece of cement was stuck there. Spoiler alert: that was a huge mistake.
Your Gums Are Just Throwing a Temper Tantrum
Most of the time, that swelling isn’t a sign of a failed procedure; it’s your body reacting to the “invasion” of a foreign object. Whether you’ve recently looked into cosmetic dentistry secrets or just got a standard molar cap, your gingival tissue needs time to adjust to the new margins. When I made my mistake early on, I didn’t realize that my gums were already traumatized from the retraction cord used during the fitting. By over-cleaning, I actually delayed the healing process. Today, we’re going to get to the bottom of why this happens and when you actually need to call your dentist back for an adjustment.
Does this mean my crown was installed poorly?
It’s a valid fear. We pay a lot for our smiles, and we expect perfection. But even the best-fitting crown can cause temporary inflammation. According to a study published by the Journal of Prosthetic Dentistry, the physical manipulation of the gingival sulcus during crown placement can trigger a localized inflammatory response in nearly 10% of patients. If you’ve ever wondered how to tell if your dental work was bonded correctly, the answer usually lies in the “settling” period rather than the immediate aftermath.
Stop Scrubbing and Start Observing
I want to save you the heartache (and the literal ache) I went through. If your gums feel like they’re being pinched, it might just be that the crown is sitting a microscopic fraction too deep, or perhaps there’s a tiny bit of excess cement hiding under the gumline. This is very common when dealing with cutting-edge techniques where precision is key but the human body remains unpredictable. Have you noticed the swelling getting worse after you eat, or is it a constant, dull throb? Let me know if you’re currently staring at a red gumline and wondering if it’s time to call for a redo. We are going to break down the actual red flags next.
Clean the area without the carnage
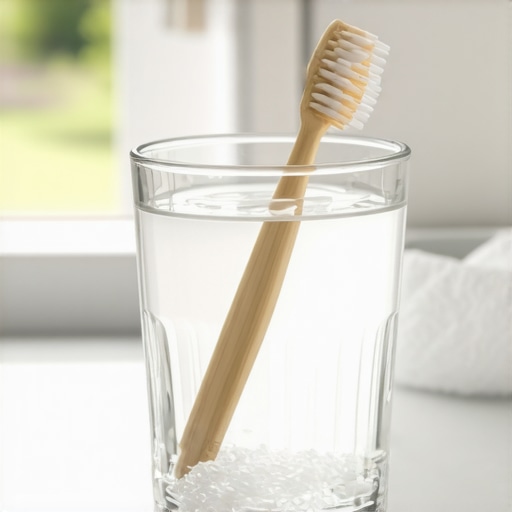
The moment you notice that puffiness, your instinct is to go into ‘search and destroy’ mode with a toothbrush. Resist that urge. Instead, shift to a ‘soothe and see’ protocol. Start with a warm saltwater rinse—one teaspoon of salt in eight ounces of water. This isn’t just an old wives’ tale; it actually creates an osmotic environment that draws fluid out of the inflamed tissue. It is the same principle we use in family dentistry tips for a lifetime of healthy smiles to manage minor irritations at home. While you are rinsing, look closely at the margin where the crown meets the gum. If you see any tiny white flecks, that might be residual cement. Don’t pick at it with a toothpick. Use a very soft-bristled brush and move in circular motions as if you are polishing a ripe peach.
Spot the difference between healing and a real problem
You need to differentiate between ‘trauma from the chair’ and an actual fitment issue. If the swelling is localized only to the gingival peak between the teeth, it’s likely from the retraction cord or the dental dam used during the procedure. However, if the entire area feels hot to the touch or you notice a pimple-like bump on the gum, that’s a different story. If you’ve ever researched how to tell if your dental implant is rejecting or just healing, you know that persistent, throbbing pain that keeps you up at night is the universal sign to call the office. I remember a time when I ignored a ‘dull’ ache for three days, thinking I was just being sensitive. It turned out a tiny piece of dental floss had snapped and become lodged under the new crown, acting like a splinter. Once the dentist removed that microscopic fiber, the relief was instantaneous. If you are wondering why your gums are swollen only around one specific tooth, always check for debris first.
Check your bite before the inflammation peaks
One of the most common causes of post-crown swelling isn’t the gums at all—it’s the bite. If the crown is even a hair too ‘tall,’ every time you close your mouth, you are slamming that tooth into its socket. This micro-trauma travels down to the periodontal ligament, causing the surrounding gums to puff up in protest. It’s essentially a bruise from the inside out. Sit quietly and slowly bring your teeth together. Does the new crown touch first? If so, no amount of rinsing will fix the swelling. You need a bite adjustment. This is similar to the reason your gums are puffy around your new braces; the pressure is simply too much for the tissue to handle without reacting. While waiting for an appointment, avoid chewing on that side entirely. Even a piece of soft bread can act as a hammer against an already irritated ligament.
The floss test for hidden cement
Take a piece of high-quality, waxed floss and gently slide it between the crown and the adjacent tooth. Don’t ‘snap’ it down, as this can further traumatize the area—a tip often forgotten even when people are worried about how to stop a temporary crown from falling off before your next visit. Pull the floss through the side rather than popping it back up. If the floss shreds or catches on something sharp, you likely have a ‘hang’ or a ‘ledge’ of excess bonding material. This creates a shelf where bacteria congregate, leading to immediate inflammation. If the floss slides through smoothly but the gums still bleed, the tissue is likely just healing from the physical manipulation of the fitting process.
Why ‘perfectly smooth’ dental work might be a warning sign
Everyone tells you that your new dental work should feel like a natural part of your mouth, but there is a nuance here that even some seasoned patients miss. In my years of obsessing over dental aesthetics, I’ve learned that a surface that is *too* smooth can actually be an indicator of over-polishing, which might strip away the essential micro-geometry needed for a natural look. If you are going through a veneers transformation unlocking your best smile yet, you want some level of surface texture. Without it, light hits the porcelain and bounces back in a way that looks fake or plastic. This is often why your porcelain veneers look opaque and not natural. The real ‘oops’ factor? Some dentists over-polish the margins to hide a poor fit, but that ultra-smooth finish can actually prevent your gum tissue from ‘gripping’ the tooth correctly, leading to that annoying, persistent puffiness I mentioned earlier.
Don’t fall for the ‘invisible margin’ trap
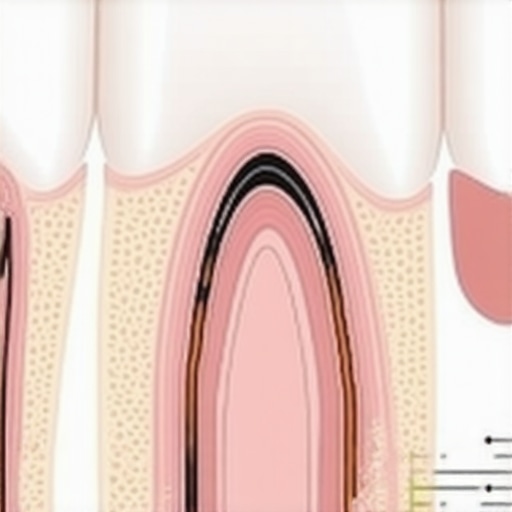
There is a common belief in cosmetic dentistry secrets that the deeper the crown or veneer goes under the gumline, the better it looks. This is a dangerous trap. In the dental world, we call this the ‘biologic width.’ Think of it as a 2-millimeter ‘no-man’s land’ between the base of your gum pocket and your jawbone. If a restoration is pushed too deep into this zone, your body treats it like a splinter it can’t remove. A study published in the Journal of Clinical Periodontology confirms that infringing upon this space leads to chronic, irreversible inflammation. While you might want an ‘invisible’ transition, sacrificing your biologic width means you’ll be dealing with red, angry gums for the life of that restoration. If you are seeing why your gums are swollen only around one specific tooth, it might not be a hygiene issue—it might be that the dentist simply didn’t leave enough room for your biology to breathe.
Is your body rejecting the material or just the placement?
Advanced patients often worry about ‘rejection,’ especially with dental implants 2025 innovations that redefine comfort and durability. However, true titanium or zirconia allergies are incredibly rare. Most of the time, what feels like a ‘rejection’ is actually a mechanical conflict. For instance, the reason your dental implant feels different than a natural tooth is the lack of a periodontal ligament, which acts as a shock absorber. Without that ‘give,’ any slight misalignment in your bite is magnified tenfold. If you feel a dull throb, don’t immediately assume the implant is failing. It’s far more likely that your crown is just a fraction of a millimeter off. This is why the truth about why your dental implant feels loose usually comes down to a tiny screw adjustment rather than a total failure of the bone to integrate. Have you ever fallen into the trap of thinking a little bit of pain meant the whole procedure was a failure? Let me know in the comments, because catching these nuances early is the difference between a quick fix and a total redo.
Don’t let a heavy hand ruin your high-end dental work
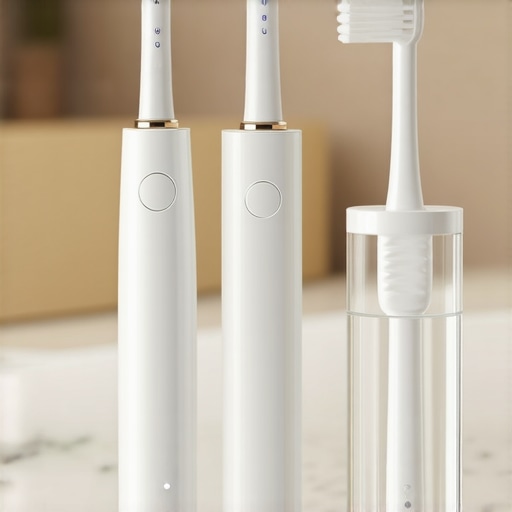
I learned the hard way that once you have porcelain in your mouth, you can’t just go back to the ‘scrub-until-it-squeaks’ method. When I first got my work done, I was obsessed with keeping it pristine, but my aggressive technique actually led to more issues. If you want to avoid the common pitfalls, you need to be surgical about your tools. First on my list is a sonic toothbrush with a pressure sensor. It’s not just a luxury; it’s a necessity to prevent crestal bone loss around implants and to keep your veneer margins from receding. If you’ve been wondering how to pick a toothbrush that wont destroy your enamel, look for one that vibrates rather than rotates, as this is much gentler on the bond between your natural tooth and the restoration.
How do I maintain my dental work over time?
Consistency is key, but the type of consistency matters. For those with implants or bridges, a standard piece of string floss often isn’t enough to reach the difficult nooks. I personally swear by a water flosser with a specialized ‘orthodontic’ or ‘plaque seeker’ tip. This is one of the 3 secrets to making your porcelain veneers last twenty years that most people overlook. The water pressure flushes out the bacterial biofilm that a brush simply cannot touch. If you are struggling with tight spaces, learning how to clean under a dental bridge without shredding your floss will save you hours of frustration and prevent the inflammation we discussed earlier. According to the International Journal of Oral & Maxillofacial Implants, patients who use water flossing in conjunction with manual brushing show a 44% reduction in bleeding compared to those who only use traditional floss.
The one tool you probably aren’t using (but should be)
If you have spent thousands on veneers transformation unlocking your best smile yet, you absolutely must wear a night guard. I used to think I didn’t grind my teeth until I saw the microscopic fractures on my old crowns. Even if you don’t think you’re a ‘grinder,’ the stresses of life often manifest as clenching while we sleep. This pressure is the silent killer of dental work. If you notice why your teeth look shorter after years of nighttime grinding, it’s a sign that your natural teeth—and your expensive dental work—are being pulverized. A custom-fitted guard from your dentist is the only way to effectively distribute that force and protect the structural integrity of your smile.
The future belongs to digital precision and smart sensors
Looking ahead, I predict that the future of dental implants cutting-edge techniques will involve smart sensors embedded directly into our night guards or even the implants themselves. These sensors will track pH levels and pressure in real-time, sending an alert to your phone if it detects a bacterial spike or excessive grinding. We are moving toward a world of dental implants 2025 innovations that redefine comfort and durability, where maintenance is proactive rather than reactive. Until then, you have to be your own advocate. Try this advanced tip tonight: Use warm, distilled water in your water flosser instead of cold tap water. It’s significantly more comfortable for sensitive margins and allows the gingival tissue to relax during the cleaning process. If you have any lingering doubts about your current setup, I highly suggest you contact us to verify your maintenance routine is actually working.
Why I No Longer Panic Over Puffy Gums
After years of navigating my own dental journey, I’ve realized that a minor inflammatory response is often just a temporary dialogue between your body and the new restoration. The biggest lightbulb moment for me was accepting that tissue healing isn’t always linear; some days the area might look slightly more flush before it settles completely. I also learned that if you feel any persistent pressure when biting, it isn’t a sign of ‘sensitivity’ to be ignored—it is a mechanical signal that needs a quick professional tweak. Most importantly, I stopped over-scrubbing. If you have ever wondered why your gums are receding even though you brush twice a day, the answer is often found in the intensity of your technique rather than a lack of hygiene.
The Only Tools You Need for Porcelain Maintenance
Keeping a high-end restoration pristine requires a shift from ‘cleaning’ to ‘maintenance.’ Here are the three non-negotiables I’ve found for keeping everything from standard caps to how dental implants reshape your oral health in 2025 in peak condition. First, swap your manual brush for a sonic model with a haptic pressure sensor—it physically prevents you from ‘sawing’ away at the delicate margins where the crown meets the gum. Second, integrate a high-quality water flosser; it flushes the microscopic sulcus in a way that string floss simply cannot reach. Finally, never underestimate the power of a custom night guard to prevent micro-fractures. These simple adjustments are the real foundation of transform your smile with veneers expert tips for perfect results.
#IMAGE_PLACEHOLDER_E#
The Road to a Worry-Free Smile
You’ve already taken the most difficult step by investing in your oral health and confidence. Don’t let a few days of initial swelling overshadow the long-term benefits of your procedure. Modern cosmetic dentistry secrets are as much about the post-op care as they are about the clinical placement. Stay patient, observe the changes in your tissue, and trust that your body is designed to adapt. If the discomfort persists or your bite feels uneven after seven days, it is always best to contact us to ensure everything is seating perfectly. Your comfort is the ultimate measure of a successful restoration. Have you ever had a dental recovery that took a little longer than the dentist predicted? Let me know your story in the comments below!